No products in the basket.
HAKKO, Mains & battery powered, Product catalogue, Shop by brand, Soldering equipment
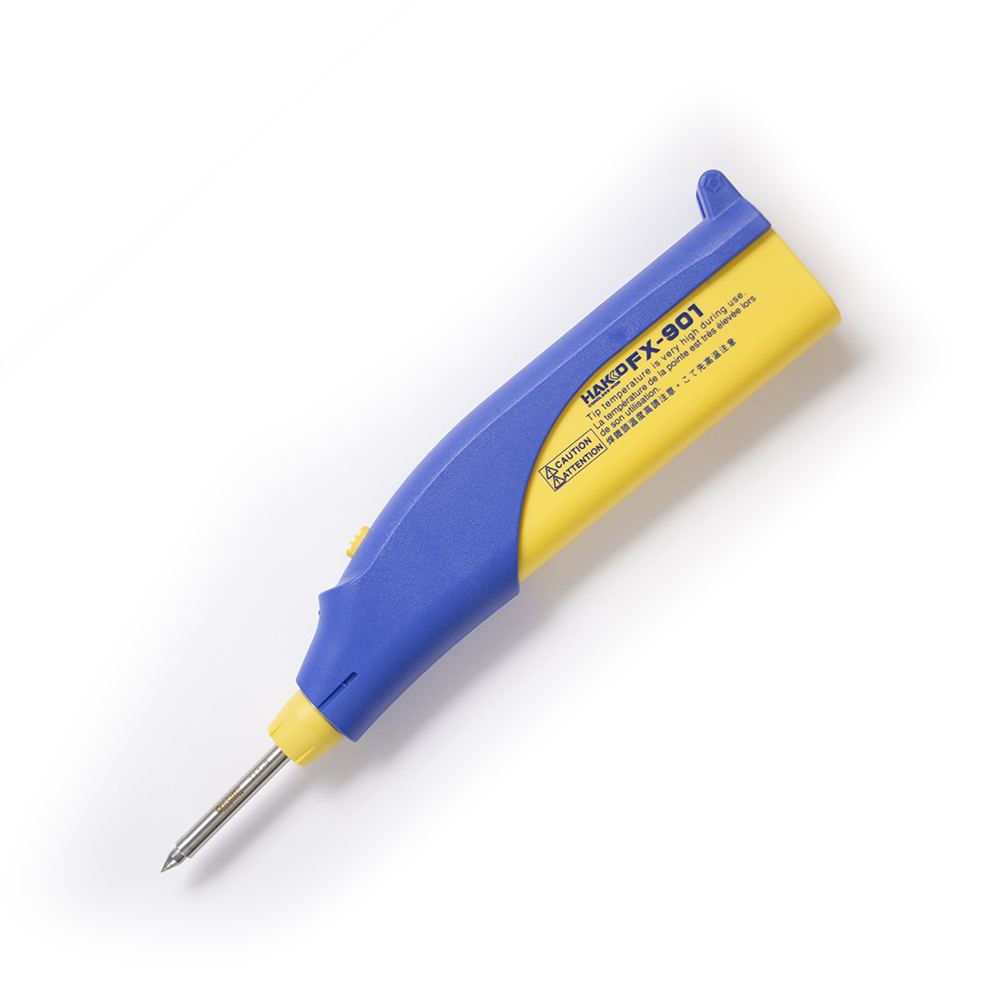
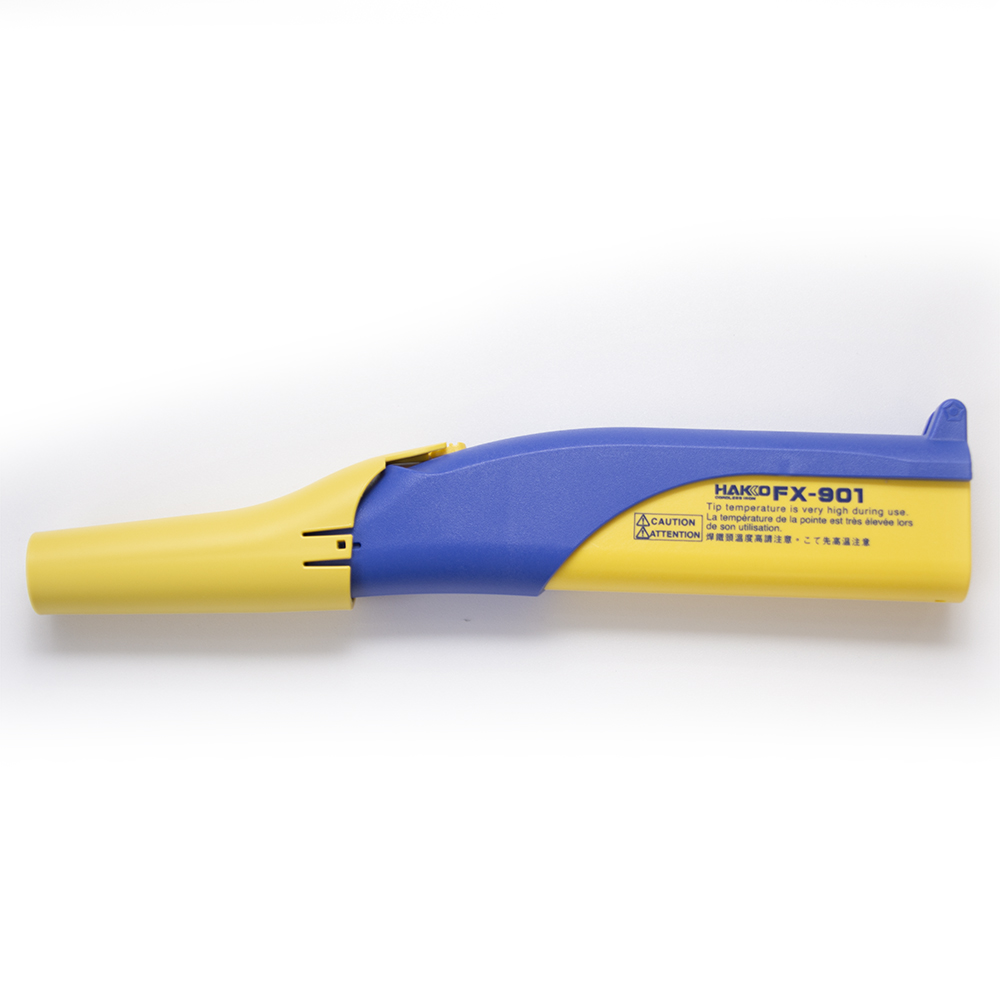
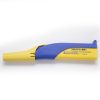
FX-901 Cordless Soldering Iron
SKU: HFX901-01
Availability:
In stock
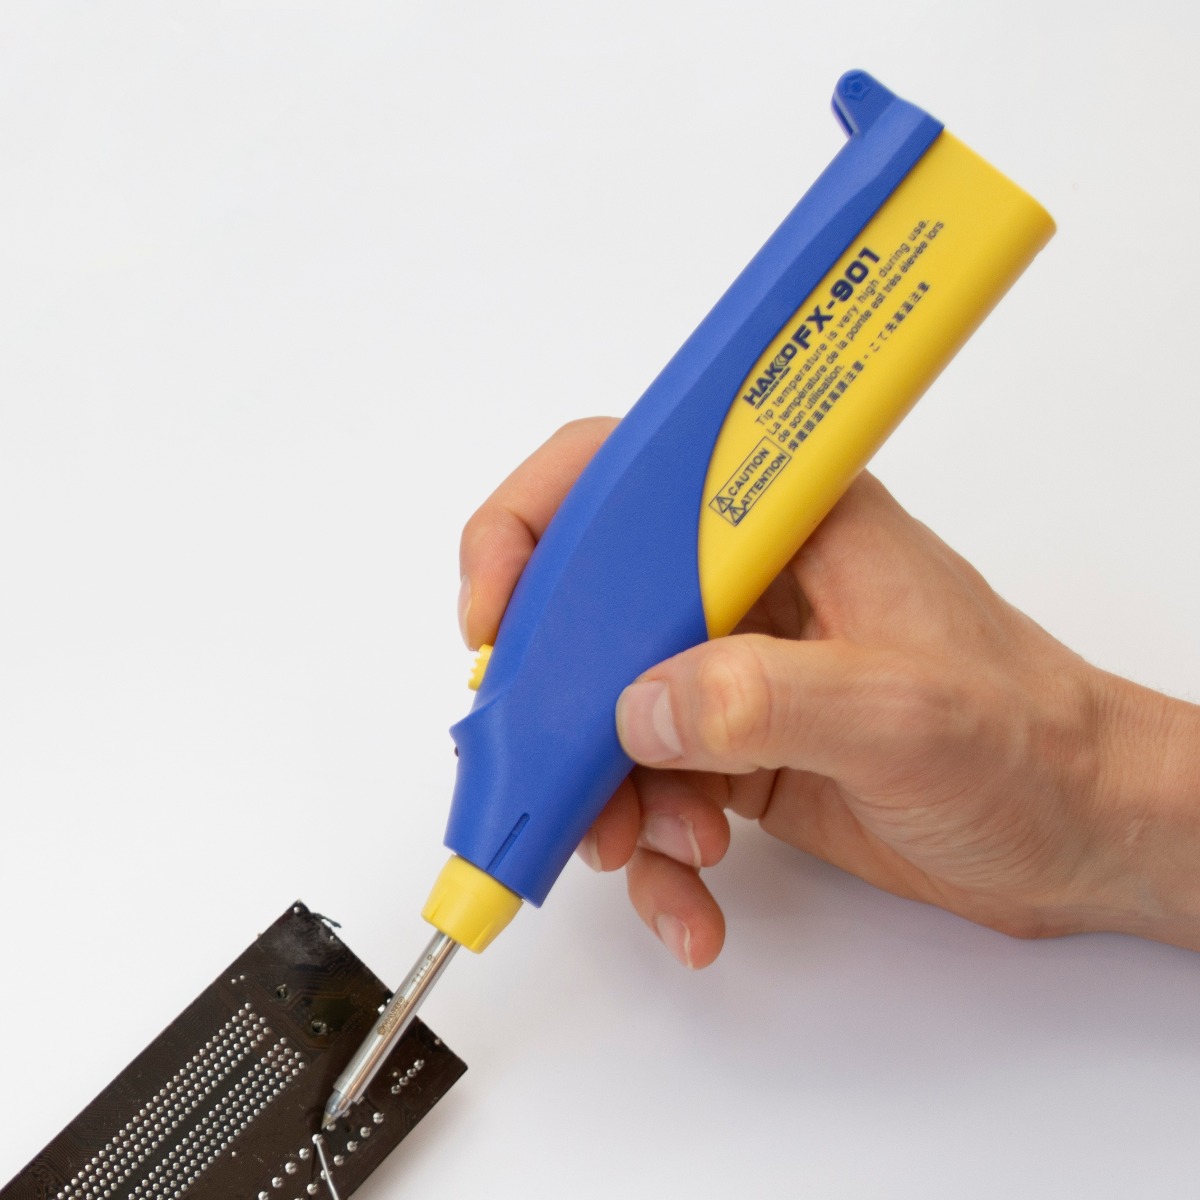
- The FX-901 is a cordless soldering iron solution ideal for field service technicians and for all your soldering projects and hobbies.
- Cordless design makes this iron very handy to use virtually anywhere
- Can operate above 315°C for up to 120 continuous minutes, unlike any other cordless soldering gun.
- AA Batteries NOT included: Recommended Ni-MH batteries for optimal performance
£61.00 Excl. VAT
In stock
Features
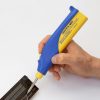
| Handy design for cordless soldering |
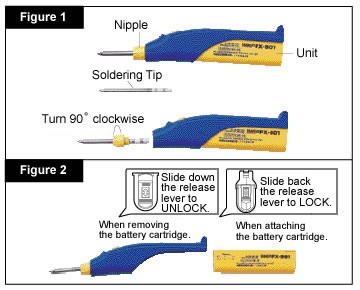
Quick and easy soldering tip replacement
|
Selective battery
|
Easy soldering not only for hobby but for P.C. board processing
|
Specifications
| Model No. | FX-901 |
| Power supply | AA 4 pcs.(not included) |
| Power consumption | Alkaline batteries : 6V (6W) Nickel hydrogen batteries (2150mAh) : 4.8V (5W) |
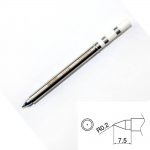
| Standard tip | Shape-B (No.T11-B) |
| Battery life | Alkaline batteries : 60 minutes Nickel hydrogen batteries (2150mAh) : 120 minutes |
| Total length | 212mm |
| Weight | 76g |
[ Measurement conditions ]
– When using new batteries, performance will vary depending on batteries.
– The operating time was measured from when powered on until the temperature came down less than 300°C which is supposed as minimum for soldering.
* When using the batteries except specified above, performance and hour operation will vary.
* Total length (w/o cap)
* Weight (w/o battery)
Usage/Applications
|
 |
Soldering Iron with Protective Cap, Batteries not included.
Optional / Recommended Extras
Images | Part Number | Description | Availability |
| 699-030620 | Nipple for the FX-901 (Set of 10) |
| Category | Title |
| Top Tips | Top Tips for Successful Soldering and De-Soldering Processes |
| Weight | 0.1133 kg |
|---|


